

Steam Proxy is a specialized service that functions as an intermediary between your computer and Steam’s servers. By channeling your internet traffic through a proxy, you gain access to numerous advantages that can enhance your Steam experience.
Why Should You Use a Steam Proxy?
Employing a proxy for Steam offers several solutions and opens up valuable opportunities.
Unlocking Region-Locked Games
Some game publishers limit their products to particular regions. A proxy allows you to bypass these geographical restrictions by altering your virtual location. When you connect through a proxy server, it appears as though you are accessing Steam from a different, supported region, granting access to titles otherwise unavailable in your country.
Switching Account Region
Changing the region associated with your Steam account might become necessary if you want access to titles not available in Russia or if you’re relocating and wish to align your account accordingly.
Buying Games at Cheaper Regional Prices
Steam game prices often vary from one region to another. By adjusting your location through a proxy, you can take advantage of lower regional pricing and purchase games at significantly reduced costs.
Accessing Steam on Restricted Networks
If access to Steam is restricted on your current network—whether it’s at school, university, or your workplace—a proxy allows you to bypass such limitations. By rerouting your traffic through an external server, you conceal your activity from local administrators and regain access to your Steam account.
Selecting a dependable proxy provider like Belurk ensures stable connectivity and robust protection for your data.
What Belurk Offers:
- Performance and Reliability. Optimized routes guarantee low latency, high speeds, and consistent stability.
- Security. Strong encryption protocols safeguard your personal information, which is crucial when using public or shared networks.
- Flexibility. A broad selection of servers across different countries lets you tailor your connection to suit your needs.
With services like Belurk, a Steam proxy becomes your versatile tool for unlocking better gaming opportunities at optimal prices.
How to Set Up a Steam Proxy
On Windows
You can configure proxy settings in Windows 10 using a few different methods:
Automatic Setup
The simplest approach allows Windows to detect and apply proxy settings automatically, requiring no user input.
Steps for automatic proxy setup:
- Press the Start button.
- In the menu, select Settings.
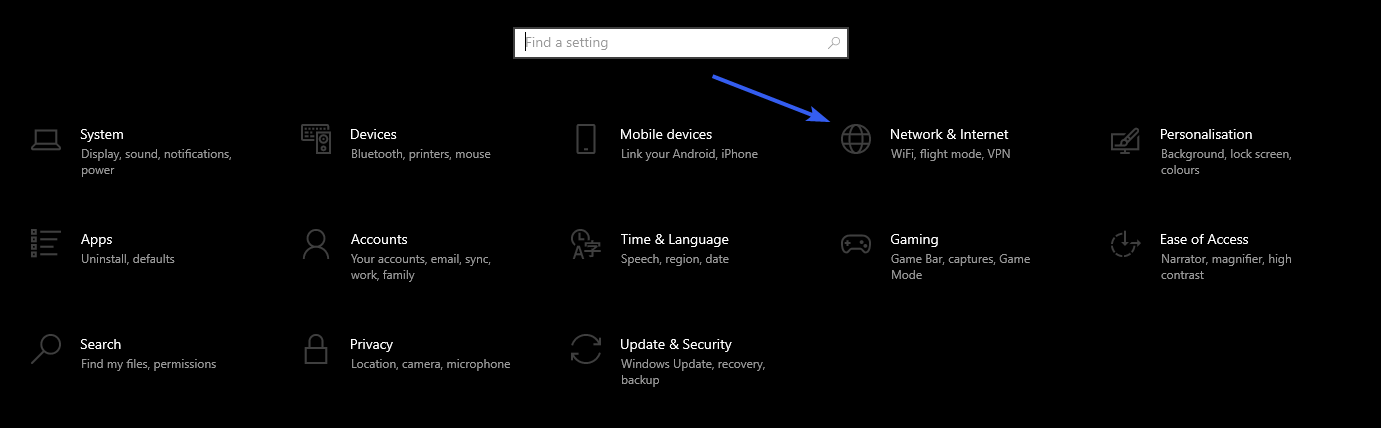
- Open the Network & Internet section.

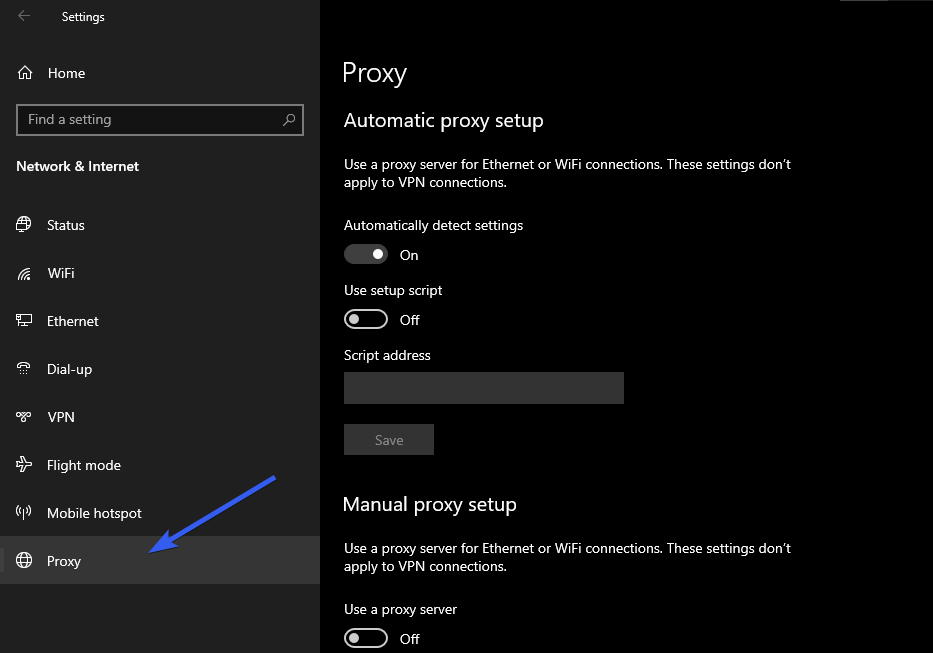
- Find and click on the Proxy tab.
- Look for the Automatic proxy setup section in the window.
- Turn on the Automatically detect settings toggle.
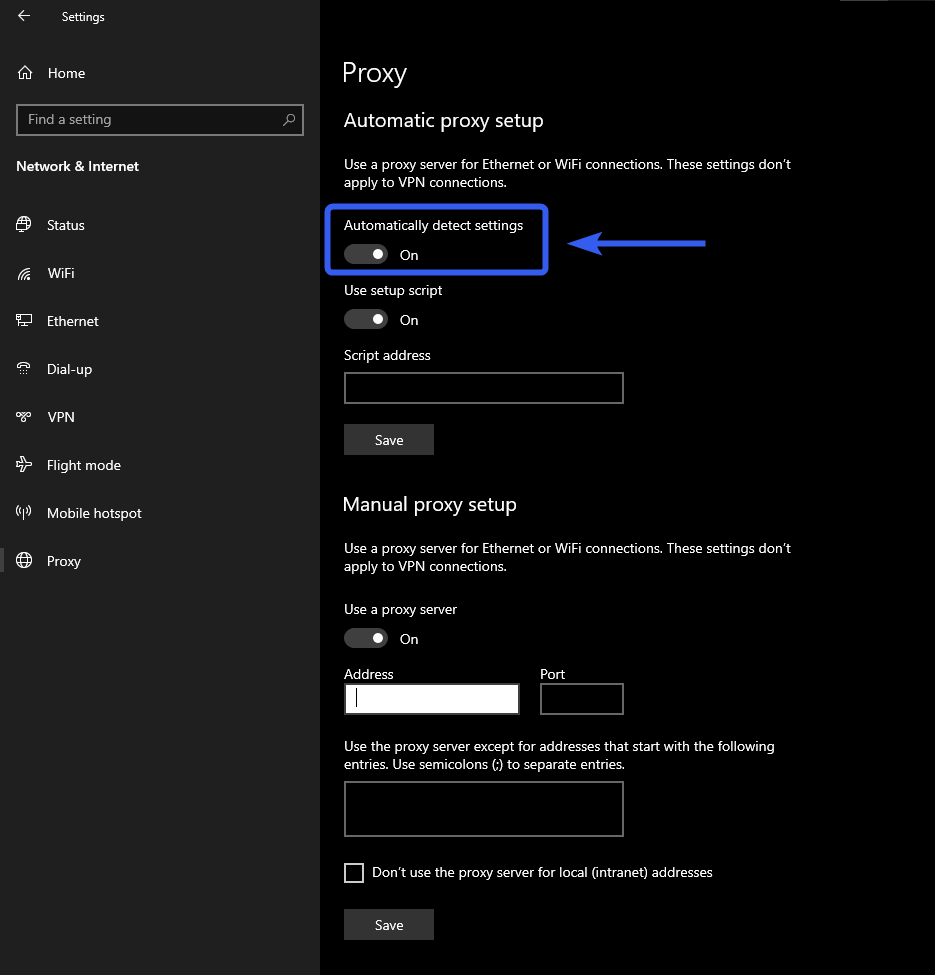
After completing these steps, Windows will automatically configure your proxy settings without requiring further action.
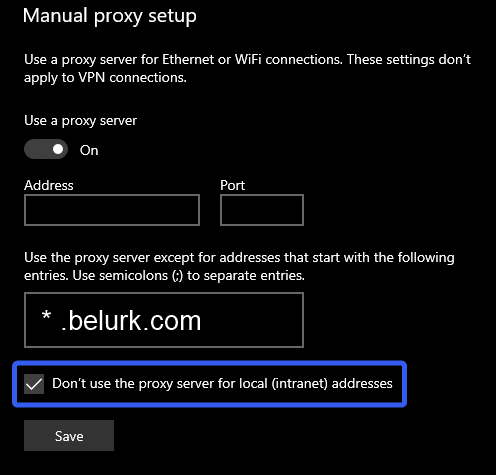
Manual Setup
If you possess specific proxy server information (address, port), you can manually input these details in the settings.
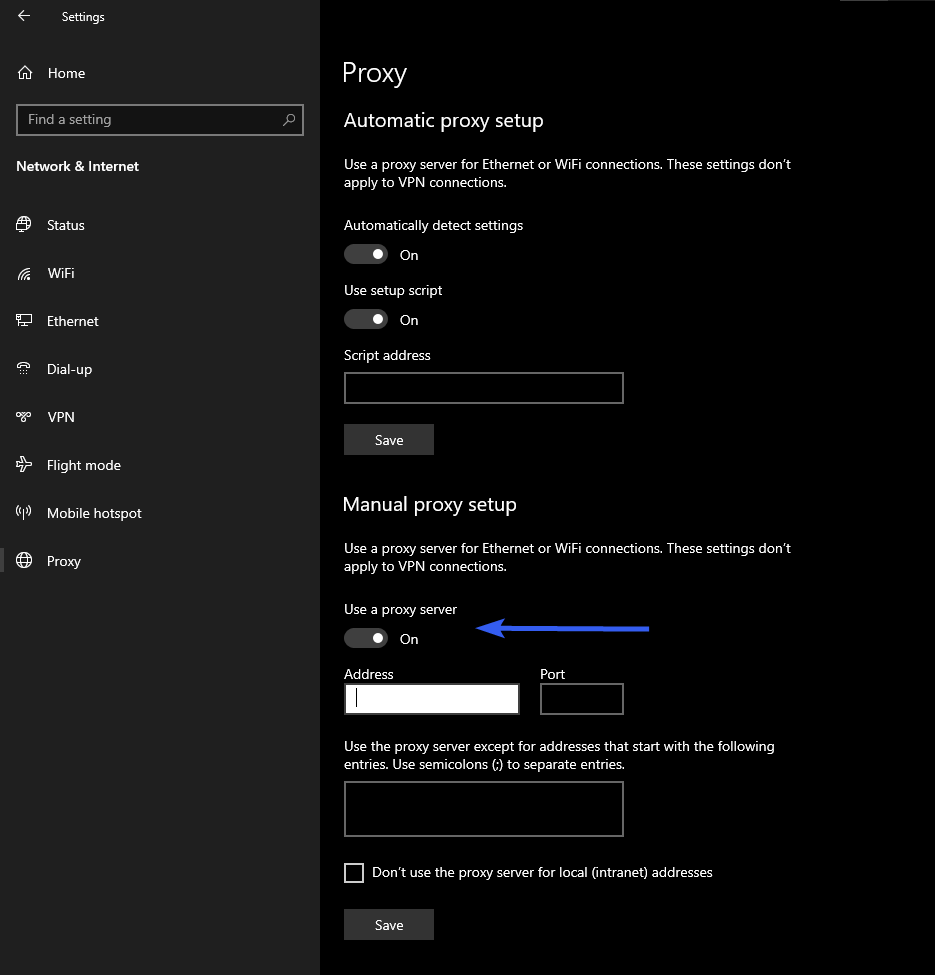
- Input the proxy server’s address and port in the provided fields. If you don’t have this information, ask your network administrator or service provider.
- To exclude certain websites from using the proxy, add them to the exceptions list. Use domain suffixes like *.contoso.com, or separate multiple entries with semicolons (*.contoso.com; *.adatum.com).
- Note: The asterisk (*) acts as a wildcard for all subdomains.
- Note: The asterisk (*) acts as a wildcard for all subdomains.
- Depending on your organization’s needs, check or uncheck Don’t use proxy server for local addresses.
- It’s generally recommended to enable this option if the proxy isn’t needed for intranet resources.
- It’s generally recommended to enable this option if the proxy isn’t needed for intranet resources.
- Click Save to confirm the settings.
After this, your internet connection will pass through the proxy, unless specific websites are excluded.
On macOS
Manual Setup
To manually configure a proxy on macOS, follow these steps:
- Download the proxy configuration file after renting the service. This will contain IP address, port, username, and password.
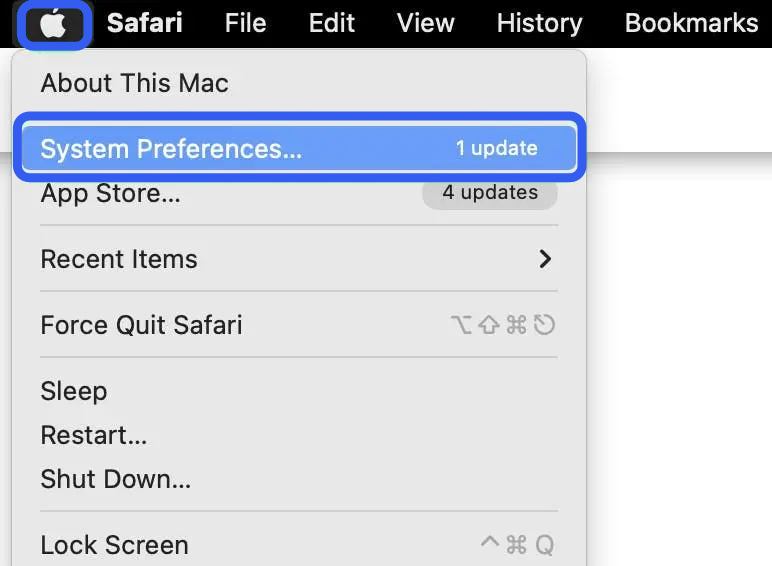
- Open the System Preferences from your Mac’s main menu.
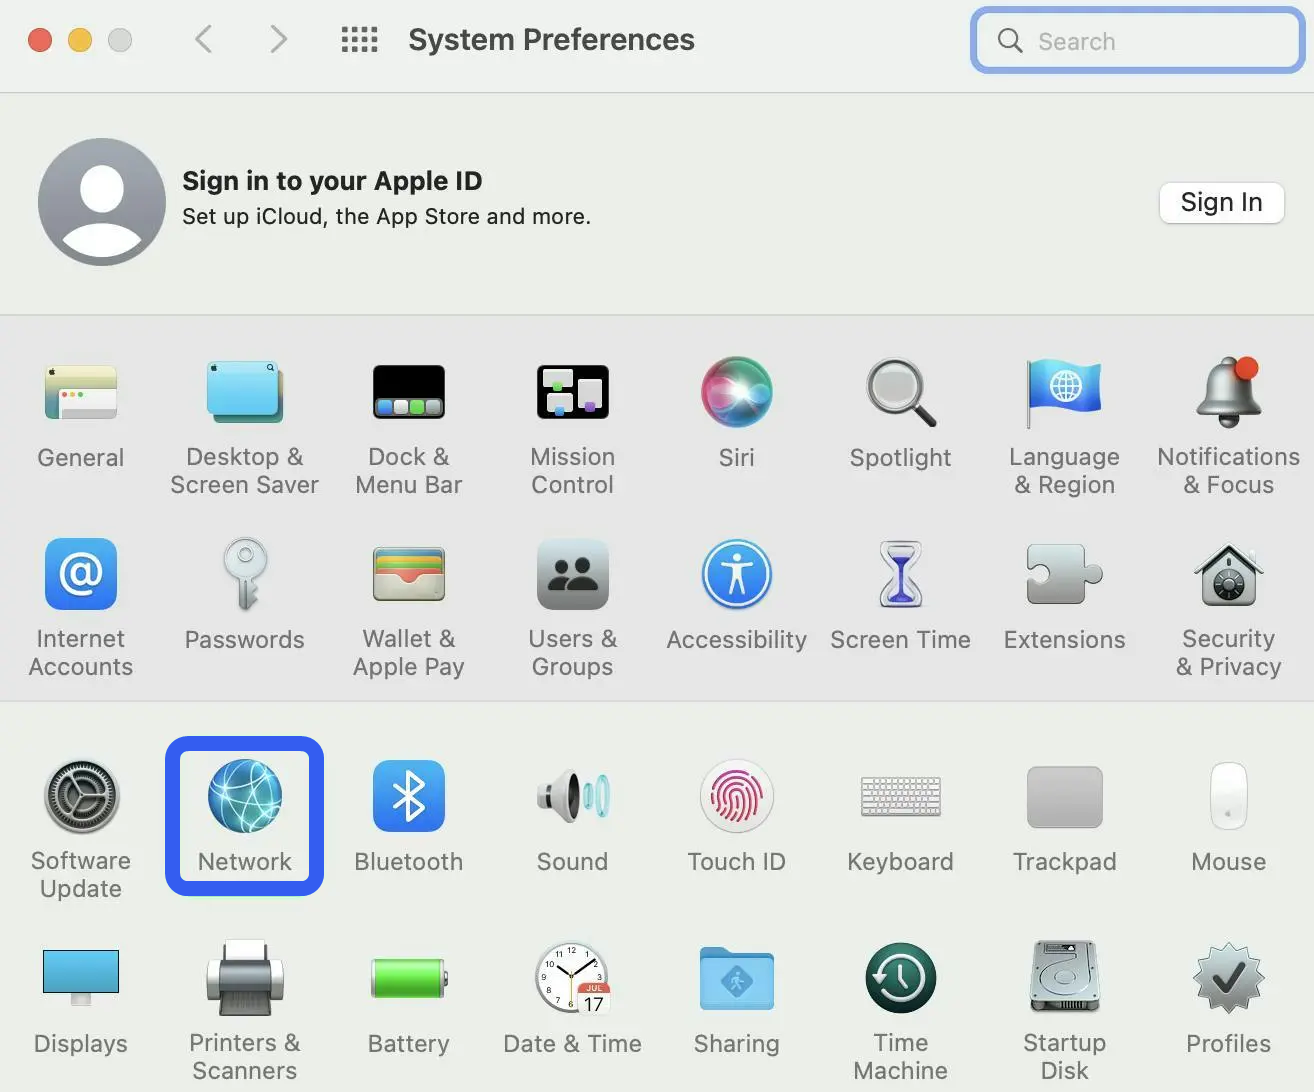
- In the window, click the globe icon labeled Network.
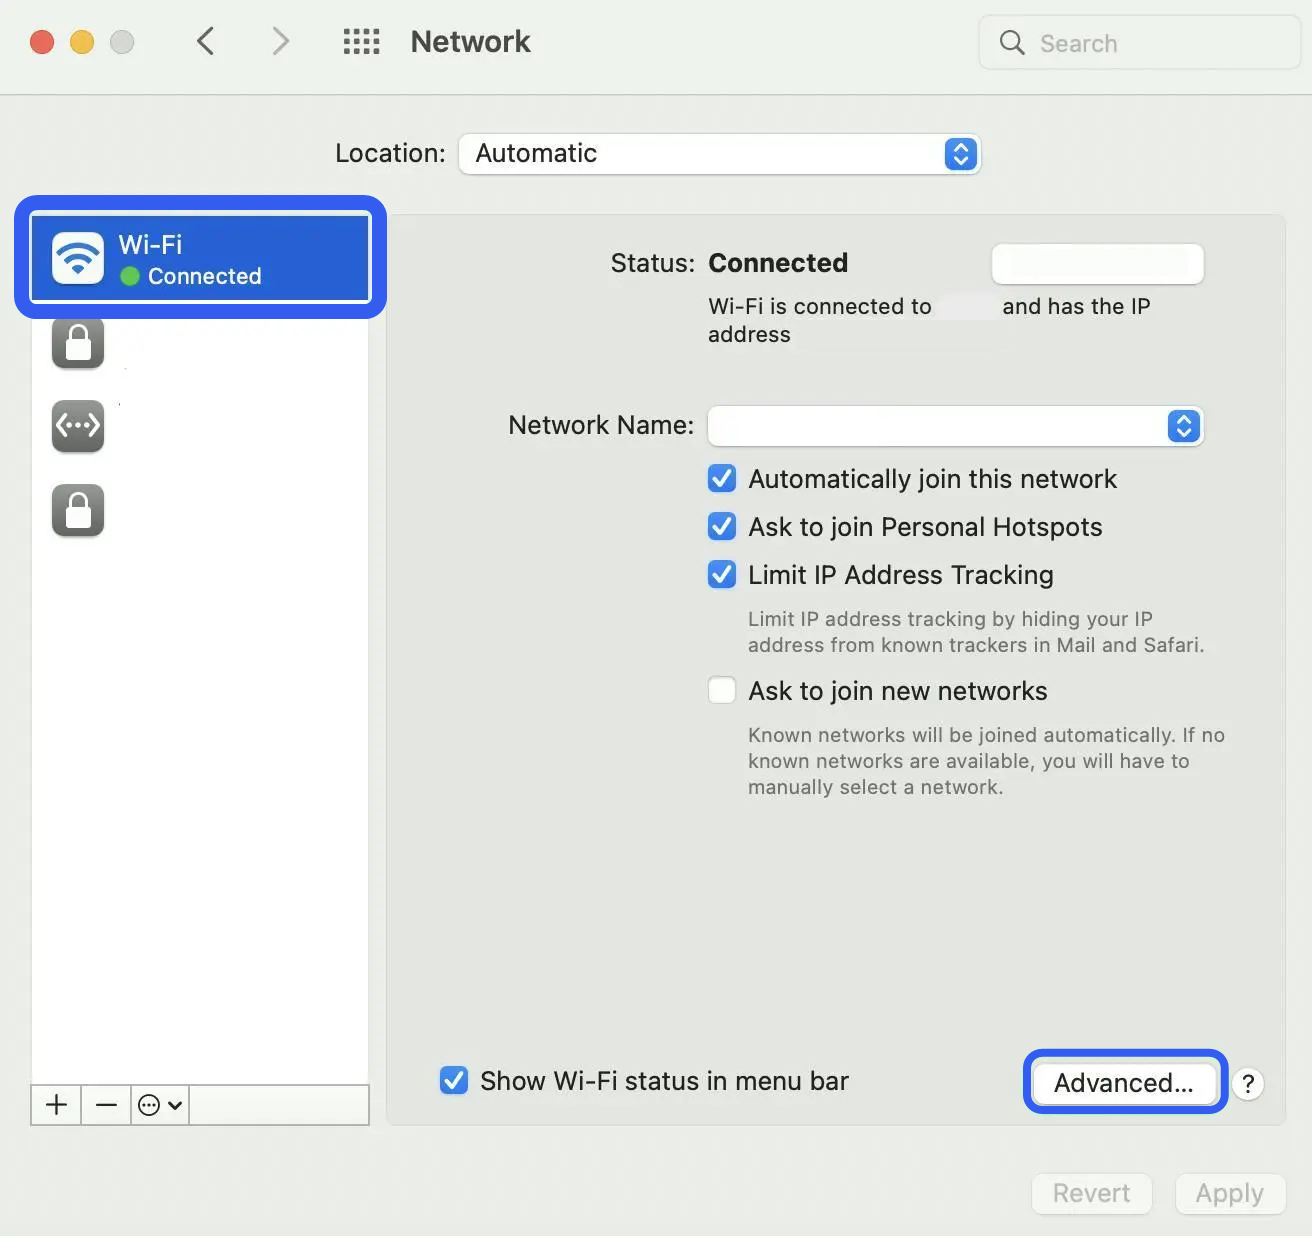
- Select your active connection (such as Wi-Fi) and press Advanced.
- Navigate to the Proxies tab.
- Check the relevant proxy type and fill in the credentials provided in your configuration file.
- That’s it! Your Mac will now route traffic through the proxy.
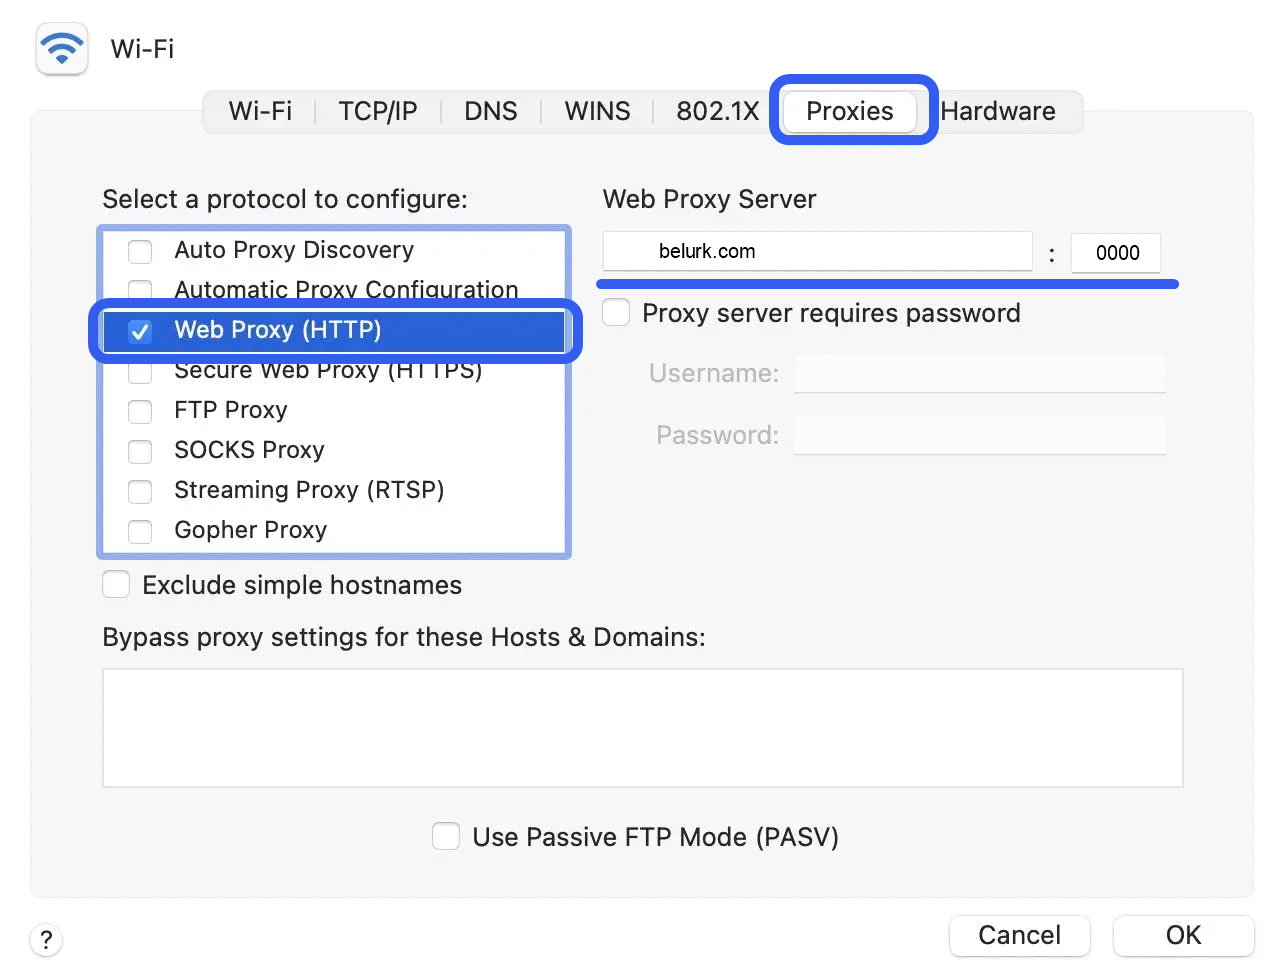
If you wish to set exceptions for certain addresses, use the “Bypass proxy settings for these Hosts & Domains” field.
- Enter a domain name to exclude it from proxy use.
- To exclude an entire domain, use an asterisk (e.g., *.example.com).
- For specific subdomains, specify each explicitly.